Grandstream GXP2000 Setup Guide
1. Once you've powered on your Grandstream GXP2000 and connected it to your network, find the phone's IP address by pressing the round menu button and then pressing the down arrow key until you reach IP Addr, then press the menu button again.
2. Make sure that your computer is connected to the same network and enter that IP address into your web browser's address bar.

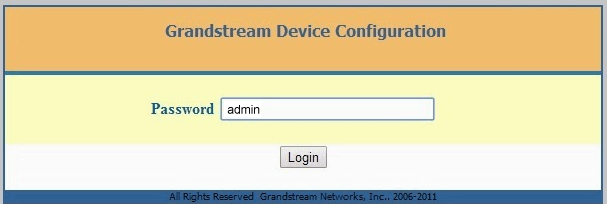
3. You should then get the phone's web login page, the default password is "admin".

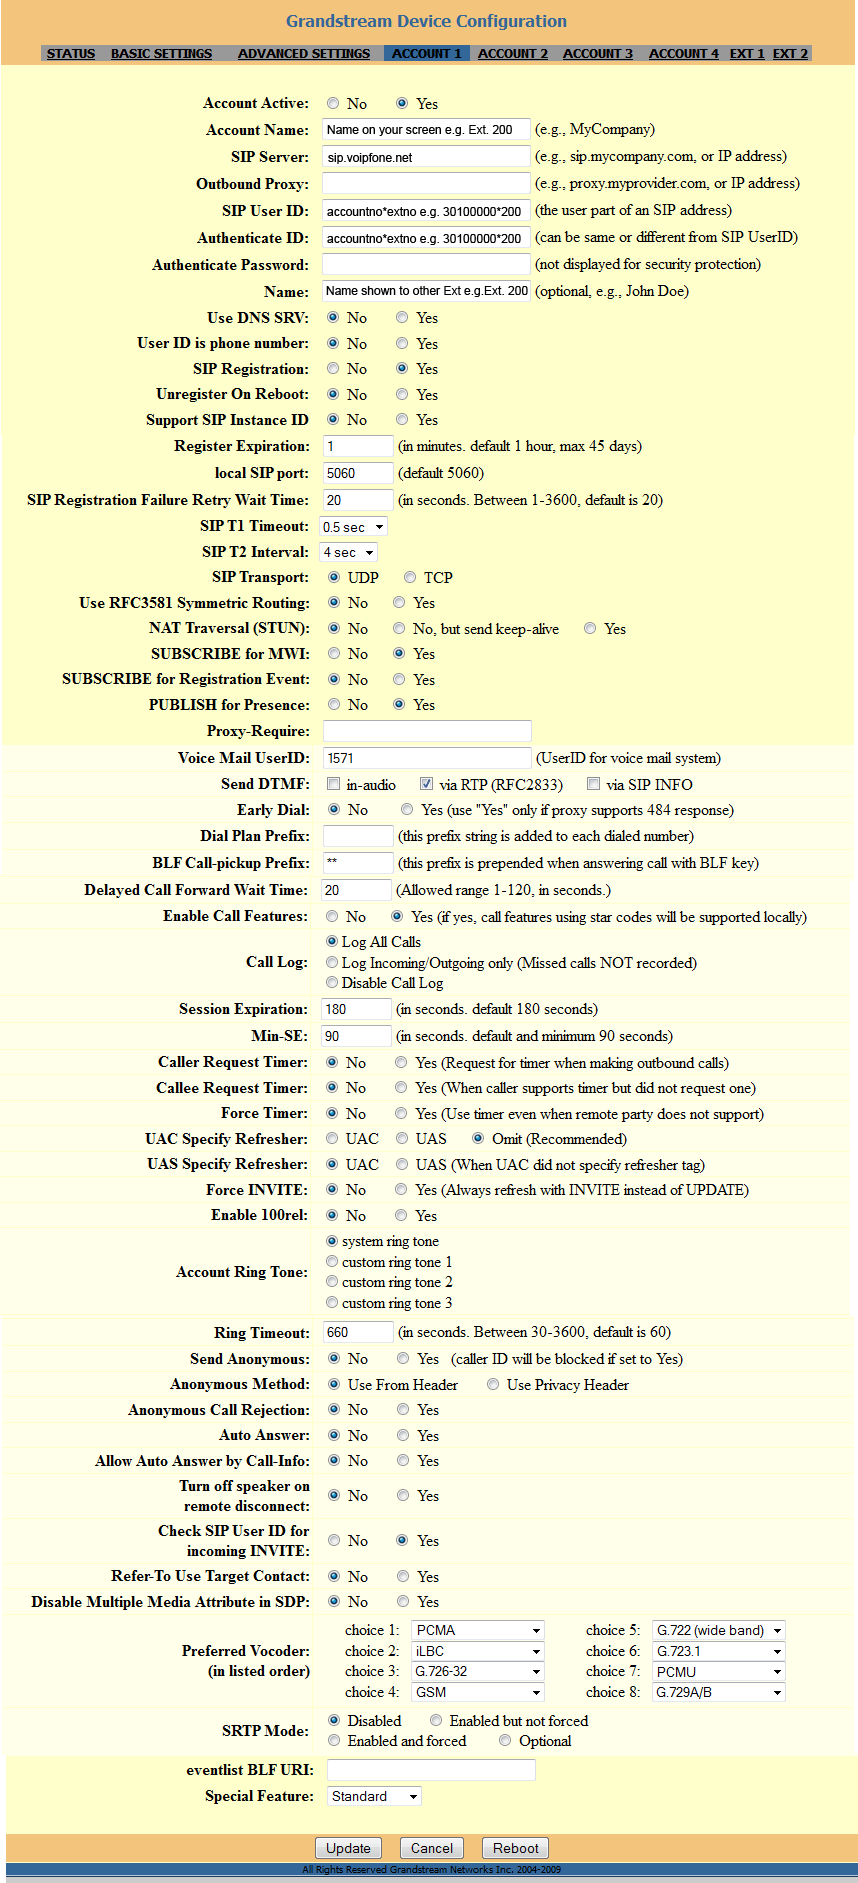
4. Click on the Account 1 link and enter the following details:
- Account Name: Anything you like, this will appear on the screen of the phone
- SIP Server: sip.voipfone.net
- SIP User ID & Authenticate ID: Your Voipfone Account Number or Account Number*Extension Number e.g. 30100000*200
- Authenticate Password: Your Voipfone Account password or Extension password depending on what you set above (find your extension passwords)
- Name: The name you would like to display when calling other extensions on your system e.g. Ext. 200
5. Click Update and the phone should now register.
Please note: These are basic account settings for getting your Grandstream GXP2000 registered and does not include security settings for your phone or your network, or settings that would be personal preference. For more information please contact your IT support team or the hardware manufacturer. There may also be additional settings shown in the image that may improve usability in certain circumstances.