Voipfone Configuration Guide How to Use the Android App
Our Android App (more info here) is simple to set up and use - just follow our how to configuration guide and you will be ready to go in a couple of minutes.
First, go to the App Store and download the Voipfone Mobile app.
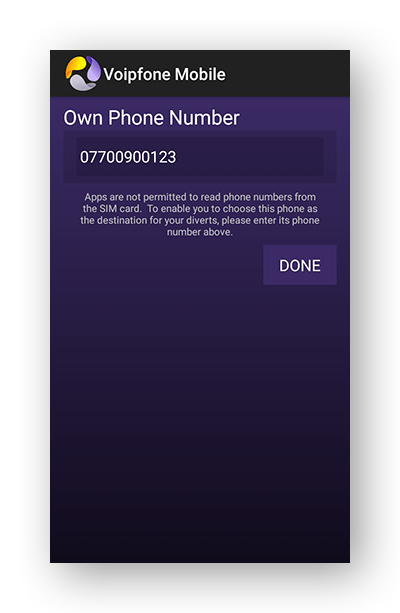
First the app will ask you to enter the phone number for your Android phone. This is needed when you set diverts so that you can quickly select "This Phone" rather than having to type it out in full every time. Apps are not allowed to read the number directly from the phone, so you need to enter it manually here.
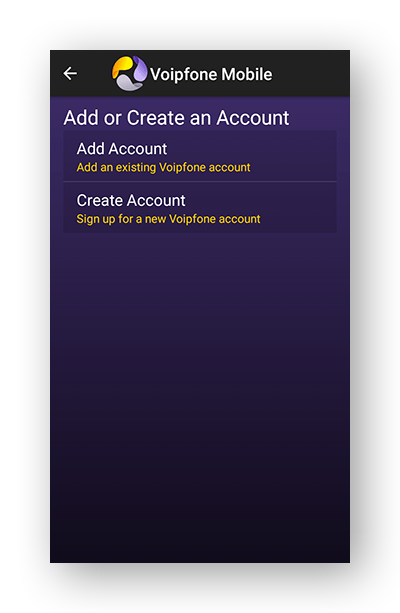
Now the app will offer you the choice of entering your existing account details, or signing up for a new account.
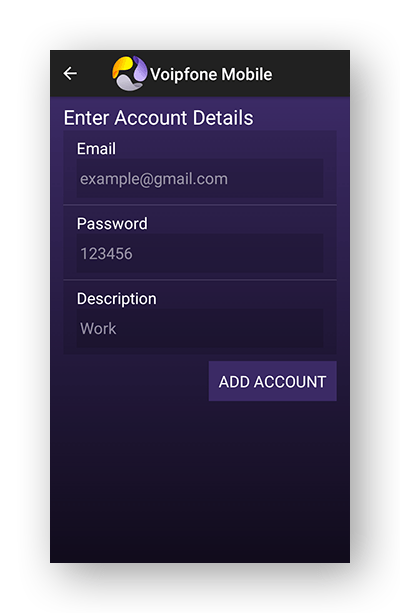
To use an existing account, choose "Add Account" and enter your account details. You need the email address that you registered with Voipfone and your 6 digit password (the same details you would use to log into the web-based control panel). You must also enter a name of your choosing for the account, such as "Work", "Home" or "The Office". When you have finished, tap the "Done" button.
Your 6 digit password / other extension passwords can be found on the Phone Settings / PBX Extensions pages.
Can't find your password?
You might be using an Extension Account. To confirm, go to your Dashboard. If the main page title says Extension followed by your extension number, then you will need to ask the account owner for your password.
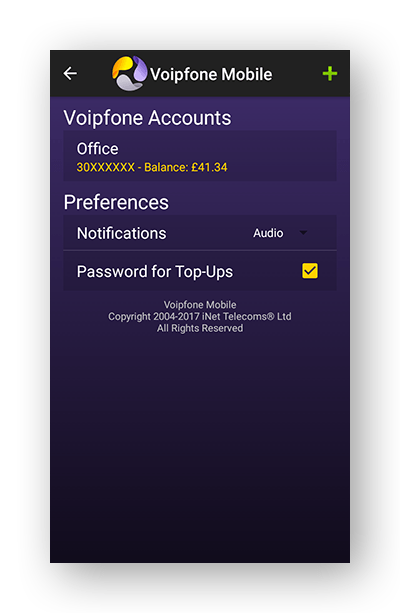
The initial setup is now complete, and the main screen showing a list of your accounts with their current balance is displayed. If you wish to add another account, tap the + icon at the top right of the screen. To modify an existing account's details (if the password has changed, for example), tap the edit button at the top left of the screen. Below the accounts list is the preferences section. Here you can turn off the voice announcements that accompany the automatic setting of GeoDiverts®.
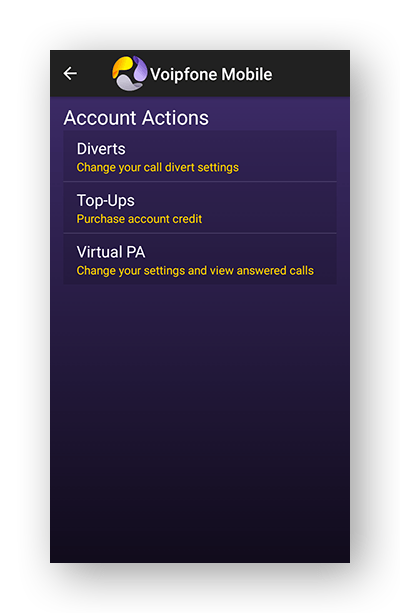
Tapping an account takes you to the account actions screen. Currently you can choose between configuring your diverts, or topping up your account balance.
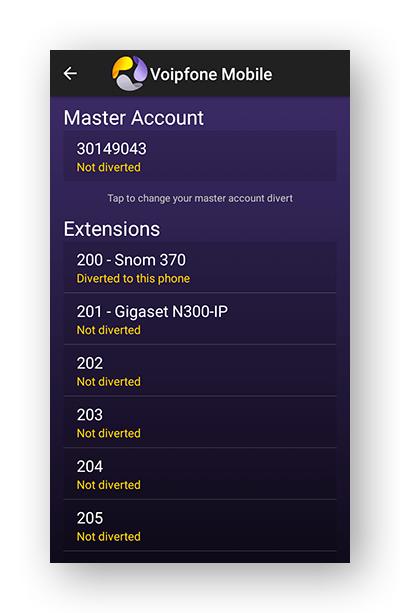
If you tap Diverts, you will be taken to a screen listing your master account and any extensions, with their current divert state underneath. Extension users will only see their own extension listed. Tap on the master account or on the extension you want to divert. You will then be taken to the configuratuon page for that extension.
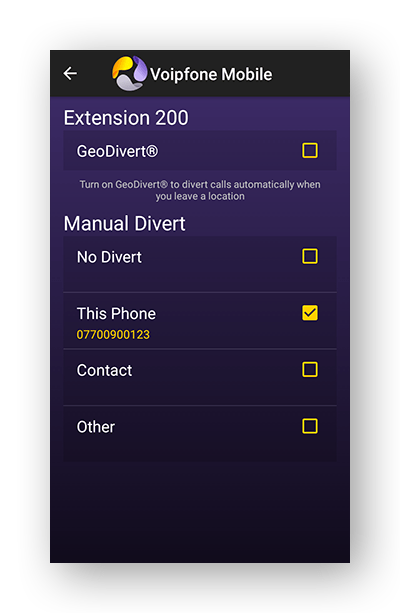
Setting a divert in the app is equivalent to setting the "Always" or "All Calls" option in the web control panel. With the GeoDivert® turned off, the manual divert section is visible. Tap to choose between no divert, diverting to this phone, a number from your contacts or to any other number you specify. To change the contact or other number tap the edit button at the top left of the screen.
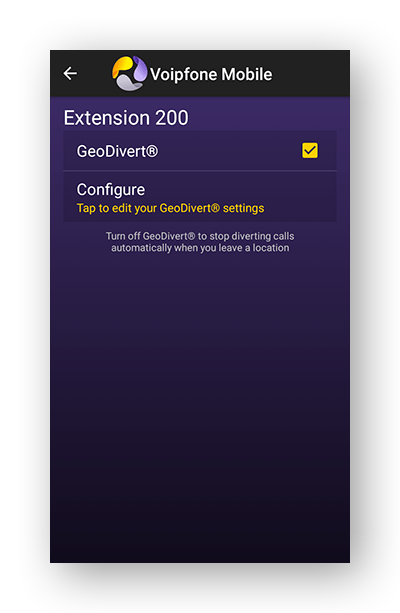
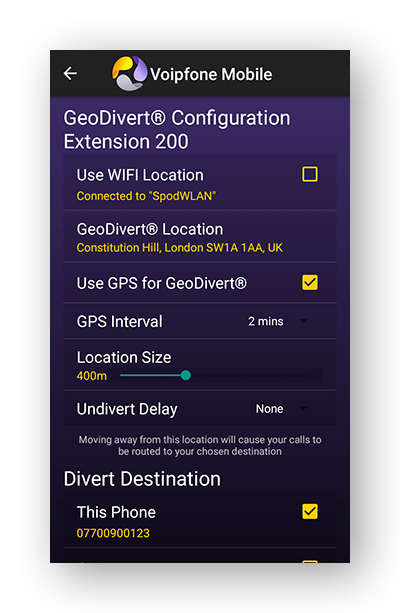
When the GeoDivert® is enabled, the manual diverts section is hidden and an option to configure the GeoDivert® appears.
The top section of the GeoDivert® screen is for setting the location that will trigger the diverts. You can choose between using WIFI location (your calls will be diverted when your phone loses its connection), or by selecting a location from a map. When using a map location, the phone will normally use the signal strength from local phone masts to calculate your current position. This may prove not to be accurate enough (you may get diverts when your phone has not moved), in which case you can enable GPS. This will drain the battery more quickly, but you can reduce this by increasing the time interval between GPS location checks.
The undivert delay can be set to give some time between arriving back and having your diverts disabled - useful if it's a long way to your desk!
When you leave your GeoDivert® location, you will hear an announcment (unless the audio alerts have been turned off on the accounts screen). There may be a delay between hearing that you have left the GeoDivert® area and that your diverts have been enabled. This delay will depend on the available internet access. If no internet connection is available, the app will retry when the connection is restored. The same process occurs when you re-enter the GeoDivert® location.
The bottom section of the GeoDivert® is where you set the destination for the divert. It functions in the same way as the manual diverts section on the previous screen.
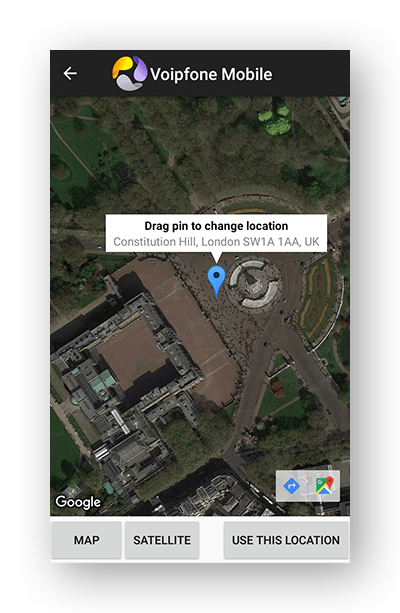
The GeoDivert® location is shown by the blue marker on the map. The marker defaults to your current location, but can be dragged to another location if you desire.
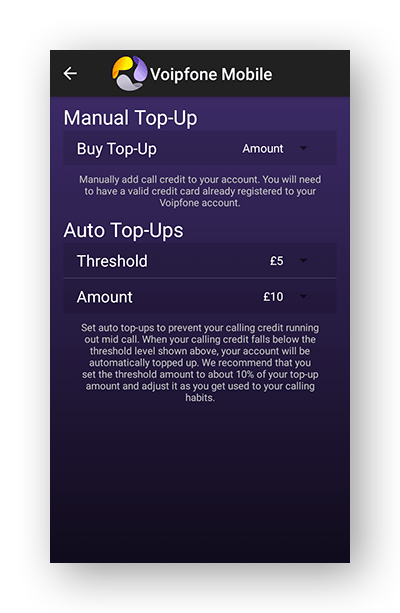
The Top-Up screen allows you to quickly and easily add call credit to your account. You must already have a credit card registered on your account for this feature to be available. Simply tap "Top-Up", choose the ammount and press "Done". You will then be asked to confirm your purchase.
This screen also allows you to configure the auto top-up levels on your account. We recommend that you set the trigger amount to about 10% of your top-up amount and adjust it as you get used to your calling habits. If your telephone usage has increased, you should consider also increasing your regular top-up amount. This will reduce the number of transactions on your card and invoices on your account and also reduce the risk of running out of calling credit.
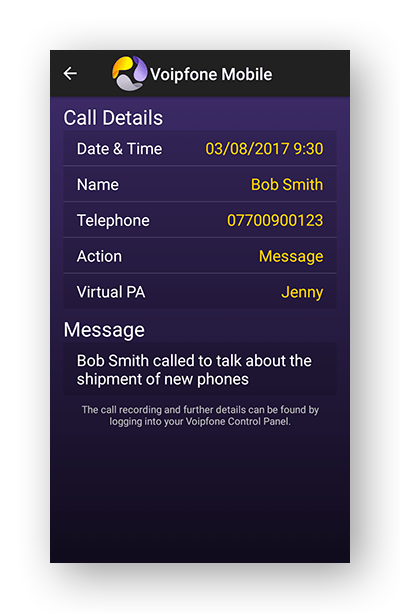
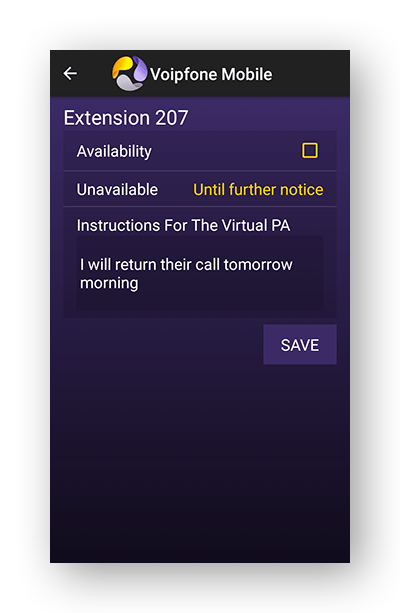
The App now includes support for our Voipfone PA service. You can divert calls to the Voipfone PA, view your call logs and messages, and set your availability to take calls.
The call log screen provides details of who called you, the date and time of the call, and any message left by the caller. You can return their call simply by tapping on the caller's number, and choosing whether to make the call using your mobile as normal, or as a web call, where our service will call you back and the call will then be charged to your Voipfone account.
The App allows you to quickly set your availability for taking calls from the Voipfone PA. Simply choose how long you are going to be unavailable (for the rest of the day, until further notice, or until a specific time and date), and enter any additonal instructions for the Voipfone PA (by default the Voipfone PA will simply take a message).
If you are still stuck and unsure how to the Voipfone Mobile App, please call Customer Services on 0345 868 5555 and one of our representatives will be happy to show you how to set it up.